 Swag By You
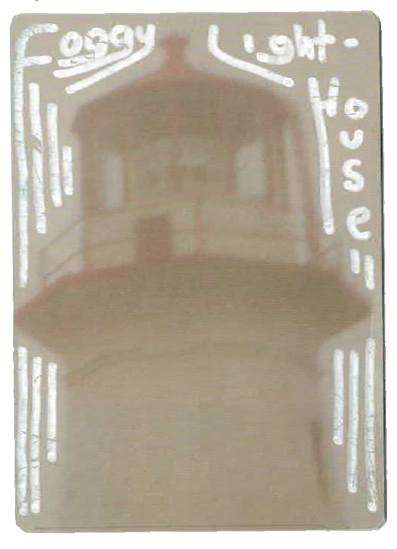 Swag By You
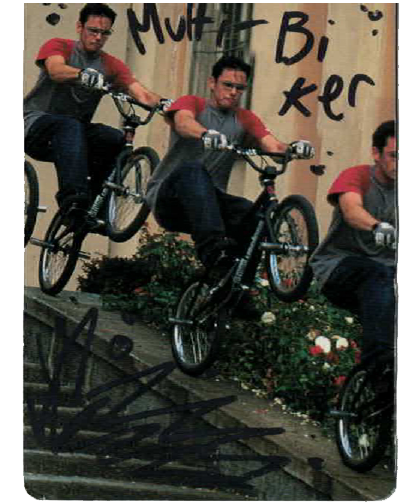
Want to make your own Total Swag cards to level up yours and your friends' Swag? This page is deidcated to explaining my process for creating the originial Total Swag card set and providing you with inspiration to make your own totally swagalicious set of swaggy Total Swag cards!
It might seem daunting to make a whole deck of cards, but Total Swag really comes together when you just take it one card at a time. This section is actually more of a disclaimer to NOT think about your deck. Really, you should let the deck come together naturally, and create each card based on what materials you have. I have some really weird and funny cards that were created just because I thought they were the silliest or funniest thing to cut out or write or draw at the time. It makes for a more spontaneous set of cards, a fun story for when you trade with friends and just adds a more personal touch than if you curated your deck. So before you read on or create your own cards, just remember to make one card at a time, and a deck will form on its own.
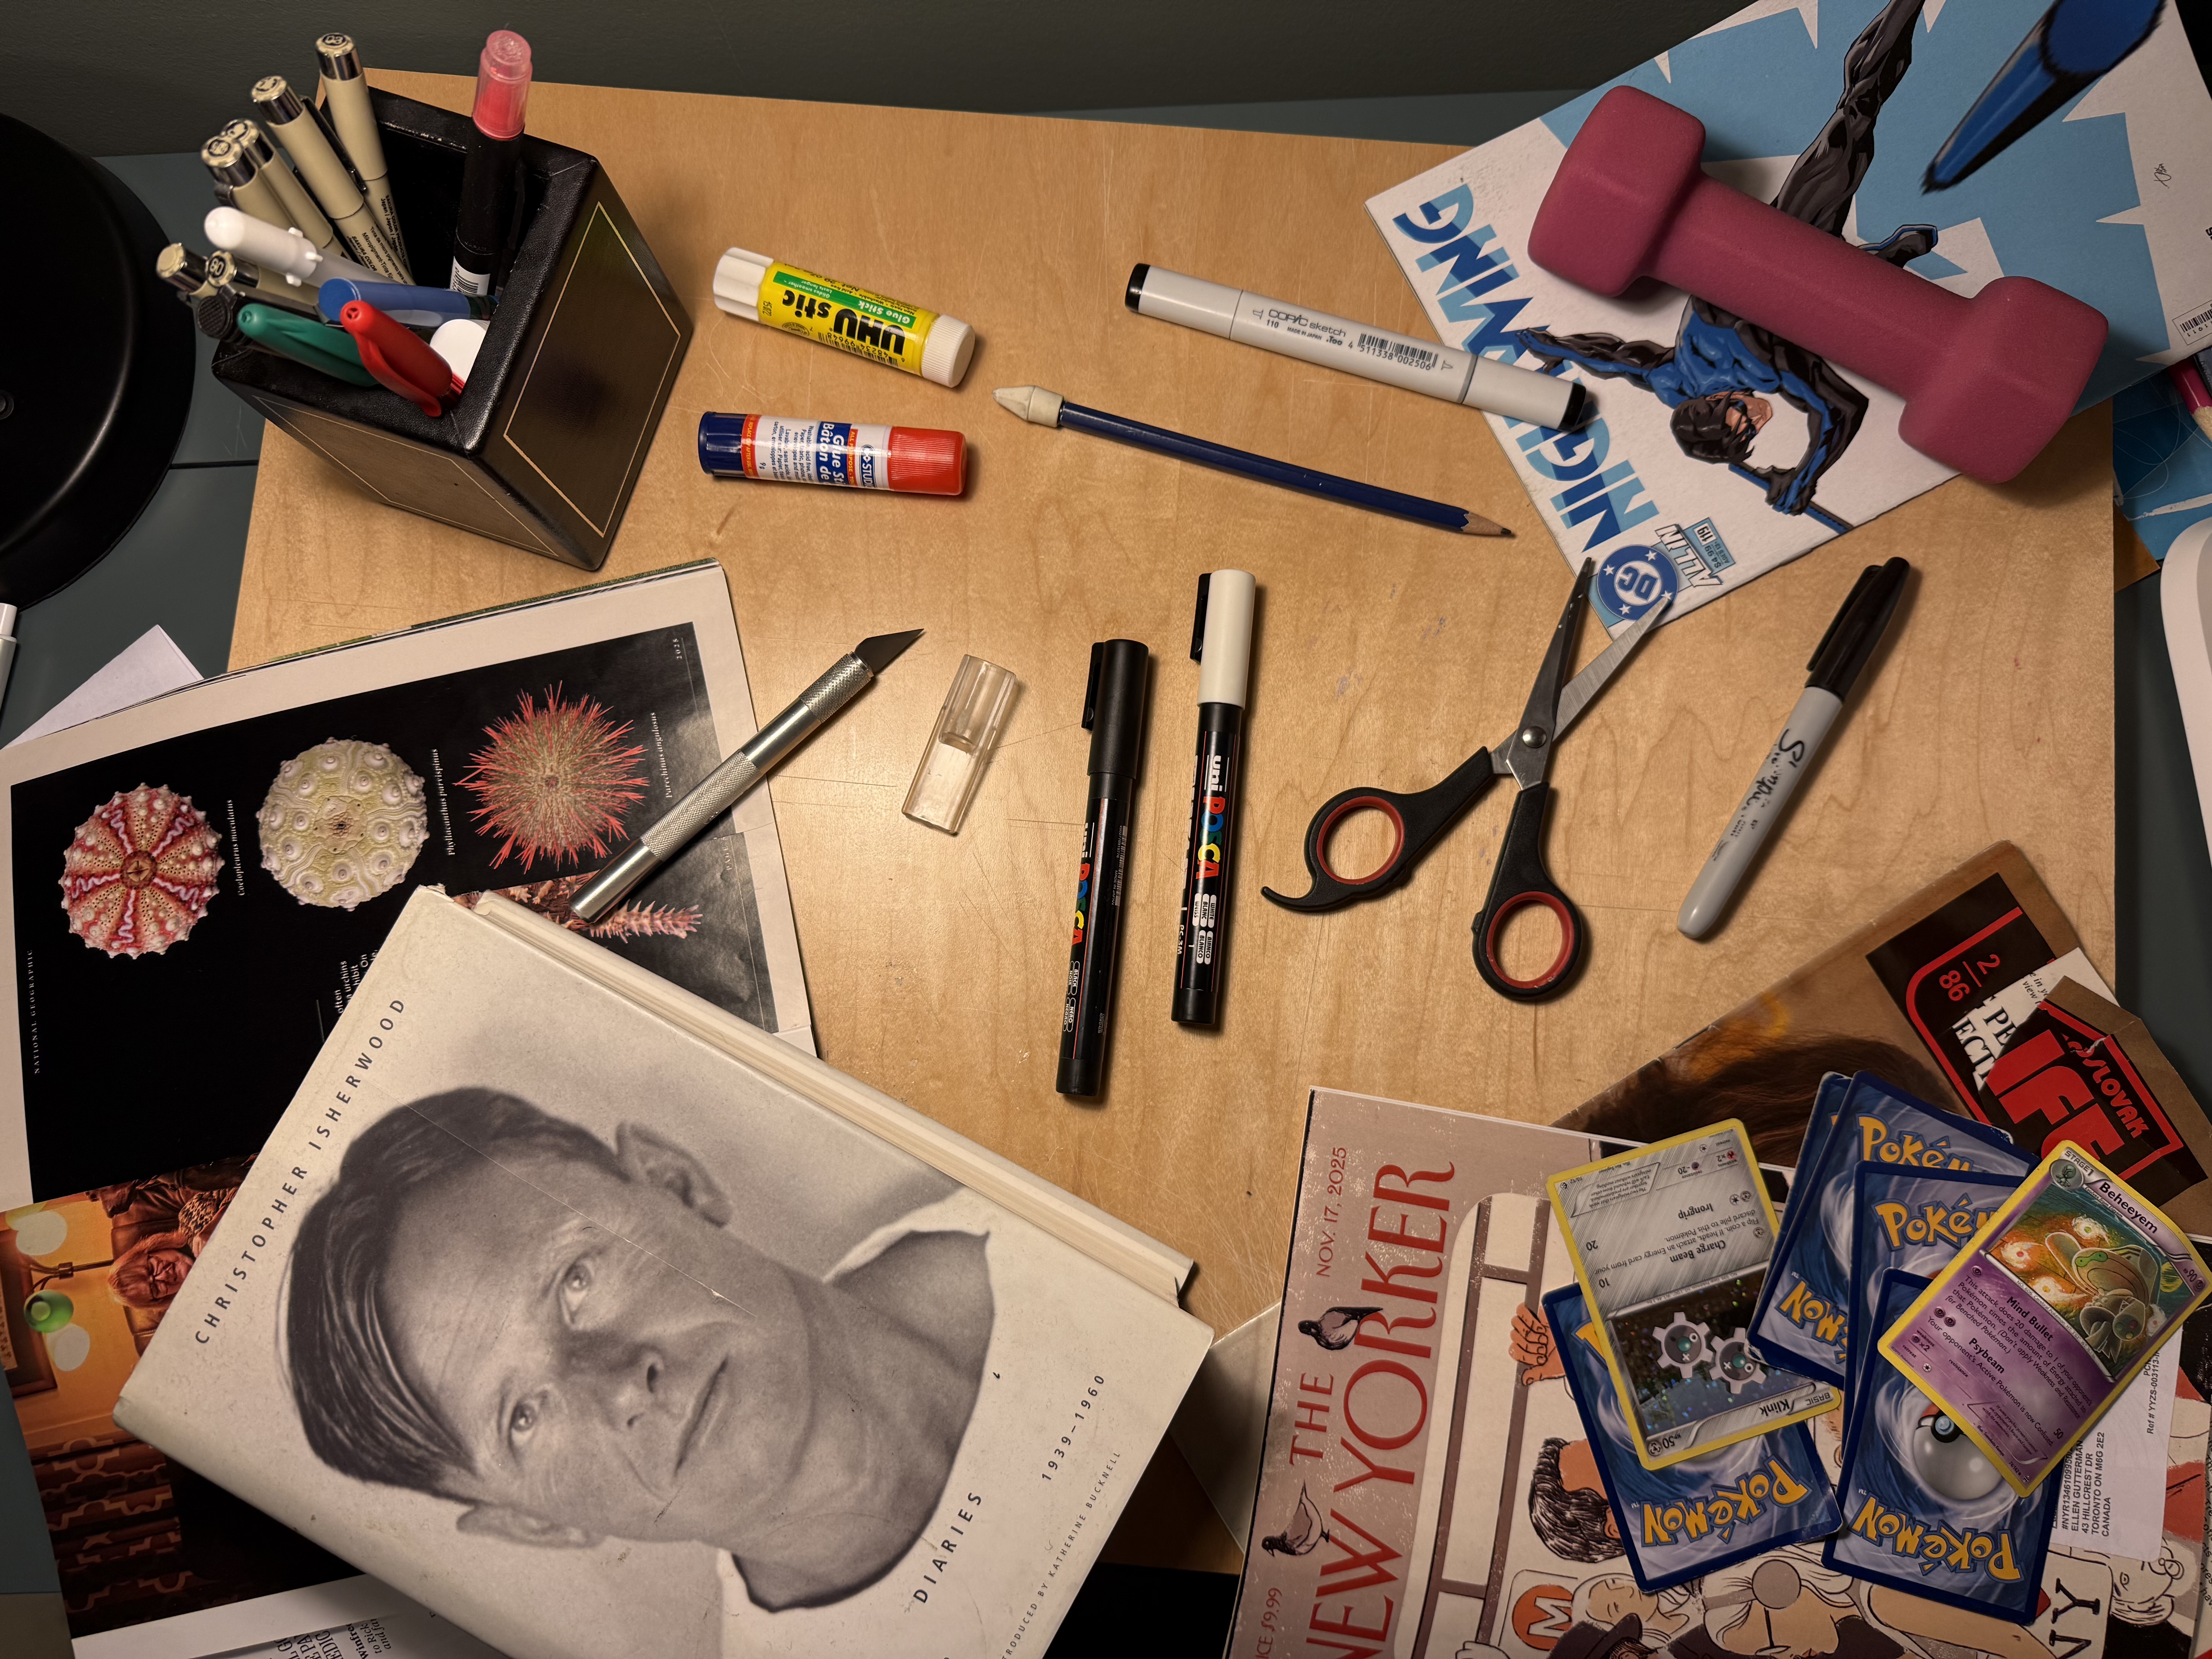
I'll expand more about their uses, and what extras I use, but TL;DR, here are the essentials for creating Total Swag cards:
I hope you have what you need! I like to use Pokemon cards, because of the thickness of the cardstock, and because I never really liked the Pokemon TCG anyways. The closest thing to a specialty item involved here is the need for a sharp craft knife. You could get away with maybe a box cutter, but scissors are not a great bet. It'll still be handy to have scissors just for cutting out bits of magazines, but when you're trimming the paper to match the card, you should really use a knife. When I write on my cards I actually use Posca paint markers, which are a little pricey (about 5$ per) but allow you to write in opaque white which is a great bonus. About markers still, I use a black Copic alchohol marker to line the edges, but that could probably also be substituted with a sharpie. I also didn't list the big wooden board I use as a work surface, but you really should have a rough surface for cutting and glueing on.
When I started making custom cards (to avoid spending more money on MTG), I copied the method used by the impossibly charming Ben Has Hobbies. I love this video, but I'll break down my specific method, which strays in a few ways. I think it'll be beneficial to see multiple methods before starting. Although, if I could do it, you can also create your own practice for making these based on his --so go ham!
Start by finding an image you'd like to turn into a Total Swag card. Use your Pokemon card as a viewfinder by tracing it with pencil over different sections of images until you like what's contained in your little pencil frame. Then, cut out the rectangle, being generous with a little allowance around where you traced. Then, use your glue stick to apply glue in a one-inch border on your Pokemon card, not your cutout. Then, carefully lay your picture over the sticky card, and place image side down under your flat hardcover book. Place further weight over the book (I use a box-set of Harry Potter books and the biography of Christopher Isherwood) to press the card and prevent wrinkling or warping as the glue dries.
While the glue dries, try looking for another picture to glue to a card that you can slip under the weight when this one is done. When your card isn't wet anymore (I'd guess about two minutes), lay it face-down on your cutting surface. Take your craft knife and press the tip up to the portuding thickness of the Pokemon card and trace around it until the excess of the glued-on picture is trimmed away. Go back and make sure your corners are as round as you'd like them. This should be pretty satisfying.
Finally, I hope you came up with a good title for your card while you were working on it, because you should now use your permanent marker of choice to write its name. Experiment with fonts, placement, and other designs.
Congratulations! You have just made an official Total Swag trading Card. I hope it was fun, and that you make many more to share with your friends, family and classmates! If you were just browsing around, I sincerely suggest you make at least one, just to try it out. It's shockingly satisfying to hold a card with your very own design on it.
If you're struggling to kickstart your paper and print hoarder collection, I might have a few tips. The first stop should be your mailbox. If you or your parents get magazines in the mail, that's gold. I wouldn't recommend newspapers, because of their thin paper, but if it works, go on! Check your home for old kids magazines, pamphlets, programs, ads, or anything like that. Personally, I get National Geographic magazine every month, which always ends up in the collage bin after a few weeks.
The best place to get a great variety of material for free are Little Free Libraries. In Toronto --and in other less cool cities-- there are little birdhouse-shaped book donation boxes distributed by LittleFreeLibrary.org, set up on peoples' lawns. Some people even have non-registered free libraries, but they all follow the same general principle: Take a book, leave a book. My family gets rid of old books semi-regularly into these donation bins, and I often go out on my bike to do rounds of the local spots to pick up what books are available. Don't shy away from grabbing picture books for kids, as they often have very artful illustrations.
The last place I'd suggest to go looking is, of course, at a second hand book store. Have a look at watch you can grab, expecially from the bargain cart if the weather is good. Kids books are great, but comics are iffy, because text bubbles and frame breaks can disrupt your cut-out. The jackpot here is an art book. Pictures of paintings, sculptures, even concept illustrations from cartoons. I never had the nerve to cut up any art books of my own, but one day I'll find a great one at a second hand store, and tear into it!